Construction
Our 3rd kiln, but the 1st one on our new property has 850 liters; we use it to fire our pottery. We also build another one, smaller, 320 liters for students to use and learn to woodfire. The bigger one I still call punk as it is not done yet and as the time goes, I get the feeling that it never will be this kind of clean finish kiln you can see on some photos in books. It was built on the edge of winter 2010 and it took us 14 days from laying the concrete as a foundation for kiln to unload the kiln. I personally would not recommend this speedy building, unless one really has to, not just because it was exhausting, there also was steam all over the kiln, when we first time preheated.
Unloading surprise
When unloading this kiln for the first time, we noticed that two bottom floors reached much lower temperature than we expected. We assumed that partly the moisture in kiln might have been responsible or just that it might be new feature of this kiln, which was larger than our old one in same construction.
New technique
We decided to use the bottom floor for the technique, which was introduced to us by USA potter Eric Knoche. Similar technique is also used in Japanese kiln in Bizen area.
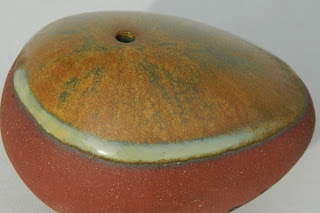
After reaching final temperature (after the cones 1350°C in front of kiln and 1250°C in back of the kiln goes down) we open the bottom floor and fast fill it with the charcoal. It achieves local reductions and effects, we liked very much on pots, which we have seen done by this technique. Of course we have just heard how this technique is done, we actually never really seen it done, so we did not know not only if it is going to work with our clays, but also if we do it right.
And at the end
We never thought about this since, we do not care if we do it right, we just do it. We love the results, the experiments with clays, slips, certain types of glazes and the adrenalin in the end of our firings.


